| Well bust my
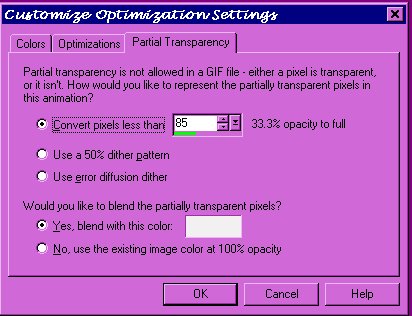
buttons...you thought i quit writing tutorials??? yeah...well...um...ya know how life sort of sneaks up on ya and ya just have to leave the puter..bummer! ROFL!!! Hey...this one was inspired by a web-tv tut from Stinky Wet Dog. (i love that SN!! ::giggles::) This is How To Tri-Glitter Your Fonts Tutorial! © Bemymind June 2005 Written in Paint Shop Pro version 7.4 (don't grumble at me, perty please, i don't have a new puter yet!) This tutorial is Bemymind's own creation. Please respect the copywrite. For this tutorial you will need: Paint Shop Pro Animation Shop (comes with PSP) Choice of a plump font (i prefer Storybook.ttf) Choice of 3 glitters (preferably 3 frames in length) Here are the three i'm using for this tutorial: Right click and save to your puter:) Just in case, i've also set-up the pattern files for all three of the glitters used in this tut. They can be extracted to your "Patterns" folder in PSP. That way you can load the frames easier. Click HERE to download the pattern file zip. calculator or pen, pencil and paper math skills (playing Jimmy Buffett's "Math Sucks" helps :) Coffee or beverage of choice. Patience with yourself and me, please:) oh no!...have i scared you off already? COME BACK HERE!! Please, Please, Please Come Back!!! :) it's not THAT bad, really! Open Paint Shop Pro. Set your foreground to pattern. 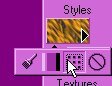 (Don't need to choose a pattern yet) Then set your foreground to null. 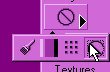 Set your background to white. 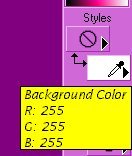 Go up to the top of your color palette and click the double arrow once. (also known as 'toggle')  Then set your background to black. 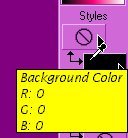 Notice at the top of your color palette bar that both black and white boxes are up there.  We're gonna do a toggle here in a bit. Okies. Now...i've been glittering a looooooonnnnggg time, so all my glitters are already loaded into my patterns folder in PSP. For those of you who don't want to load the pattern files into the program, you can open all nine pattern .bmp files in Paint Shop Pro and will be able to choose them into your pattern when the tut calls for them:) 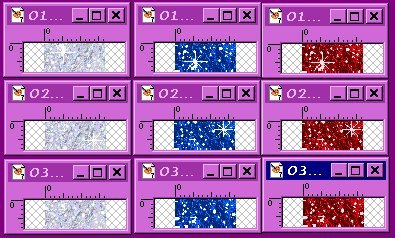 open them all and move the to the lower left hand corner so you can see 'em:) if you like. All set? Lets get to tri-glittering!! Open a new image: 400x300 pixels 72.000 resolution (best for web) transparent background, 16million colors. 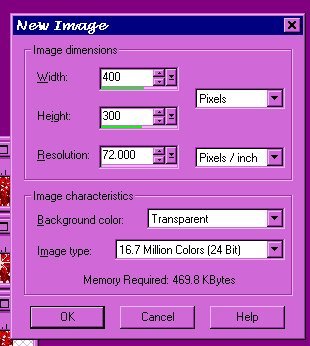 Big space for now, we will re-size down later. Toggle to make your background color white. Keep the foreground to Null. Go to Layers>Add New Raster Layer. Name it 01. Choose your text tool button somewhere towards the middle and to the left inside your new image window to get the text box to come up. A.Choose your font. B. Your font size. C. Auto Kern checked on. D. Stroke is Null and Fill is white. E. Click Standard Text to get a nice even fill. F. Choose floating and antilias. G. Type your text. H. Click OK:)  While your text is still floating move it to the center of your canvas. Go to Selections>Select None (or Ctrl+D) to de-select. Click on your majic wand button canvas BUT NOT ON THE TEXT. You'll have marching ants all over the place...LOL Now go to Selections>Invert, 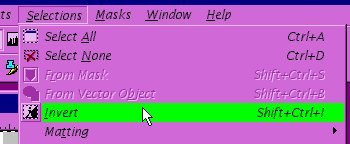 and the ants will be around your text only.  Go to Selections>Modify>Expand 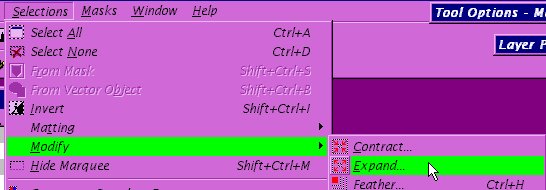 Expand by 1. Click OK.  kewl beans, you're doing good! Now go up to Image>Crop to Selection. 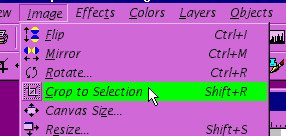 Now we have our main working area for tri-glittering! 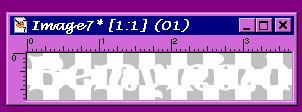 Here's where the pencil and paper come in..time to make some notes!! Go up to Image>Image Information: 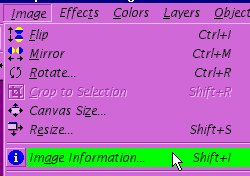 Make a note of the Width and Height. 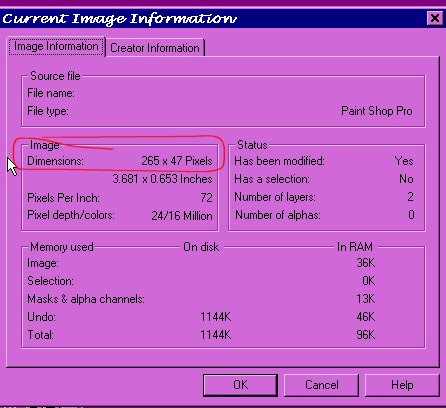 Mine is: 265 pixels wide by 47 pixels high. Click ok to get out of that window. Now is a very good time to save your file in .psp format. And it is also a very good time to take a break and refresh that coffee:) Are you back yet? No? ok...i'll empty the dishwasher.... I've emptied, re-filled and come to 2 conclusions... 1. if my family brings home any more plastic anthings to drink out of, i'm gonna hurt 'em! ROFL and 2. I need a new dishwasher as this one is sounding sort of like a small freight train and vibrating like a California quake! Anywho...let us continue... One constant will be the width of your image. mine is 265 pixels... Your height is what we are gonna fiddle around with a bit:) Take your height measurement and divide by 3. ok, so 47 (my image height) doesn't divide so evenly...so i decided to make the top and bottom both 16 pixels and the middle 15 pixels. so on my paper i have written: Top: 16 Middle: 15 Bottom: 16 Choose your Selection button and choose rectangle and clear the box next to antilias. 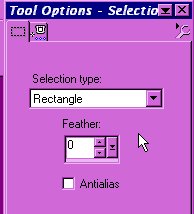 Then double click the selection button to get the Select Area window... we get to choose exactly where we want the selections to be. We are gonna set 3 different selections and save to our puters to load later. This first selection will be our top. Remember, your width height may be different than mine. Fill in your numbers to fit your image. Here's how mine will look: 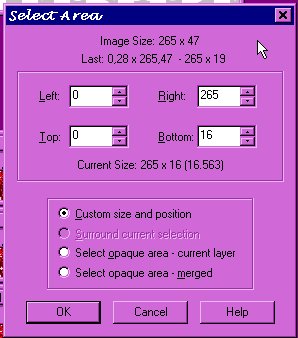 My Left will always be 0 and my right will always be 265. My Top is 0 for now and my bottom is 16 for now. Now, click ok and see how just the top area of my image has marching ants: 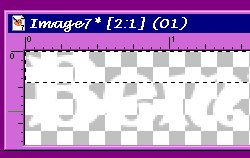 kewl beans huh? Go to Selections>Save to Disk and name it 01top. PSP will save it in .sel format for you. Go to Selections>Select None and then double click the selection tool button again. Here's where we might get a bit confused. Oh Well! i live confused! LOL:) Now, in our Select Area window...our right and left stay the same, but now our top becomes 16 (yep, the previous selections bottom number) and our bottom becomes 16 plus 15(our middle number on our note paper) to equal 31. here's a lookie: 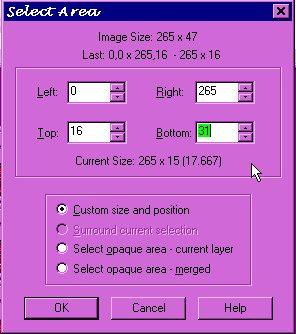 okies? 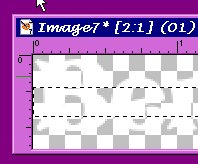 kinda kewler... Again do:Go to Selections>Save to Disk and this time name it 02middle. PSP will save it in .sel format for you. Go to Selections>Select None and then double click the selection tool button again (last time...er...maybe). Now, in our Select Area window...our right and left stay the same, but now our top becomes 31 (yep, the previous selections bottom number) and our bottom becomes 31 plus 16(our middle number on our note paper) to equal 47. here's a another lookie: 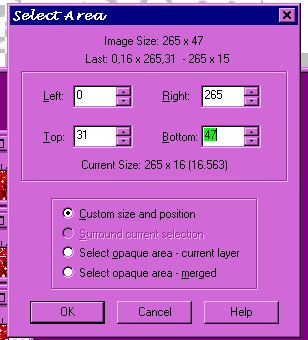 kewl stuff... 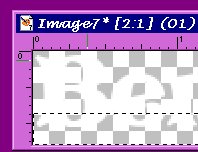 Again do:Go to Selections>Save to Disk and this time name it 03bottom. PSP will save it in .sel format for you. Go to Selections>Select None. If you'd rather have more of one color and less of another. when you make your selections give more pixels to the sections you want. just make sure the totals add up the the exact height of your image:) Whew!! ok, great job!! Now we are going to set up the layer palette and get ready to glitter! Your layer palette should look like this right now: 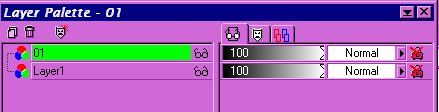 all the way to the right hand side, see that red X over a lock? On Layer Named 01 -click the lock to remove the red X. Then move your cursor back to the layer 01 and right click. Choose Duplicate. Click on Layer named 01 again and then right click again and choose duplicate..again :) Right click over each copy and choose Rename. Rename each copy, one named to 02 and the other named to 03. and here's what your palette will look like: 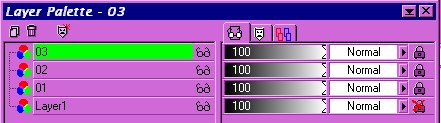 Click on Layer1 to highlight it. Go to the toggle arrows at the top of the color palette and and click them. this will make your background color black. Now, click those little arrows next to your background and foreground boxes to toggle the black to the top and become the foreground color.  Choose your flood fill tool button on your canvas making sure you do not touch the text. (this only makes sure you do not accidently move the text out of alignment.) Your base layer is black so that you can easily see the fills we are about to do. Toggle your black back to the background and change the null to pattern. Now, click on the pattern box and choose 01red as the pattern. Scale(%) 85 -- Angle 45 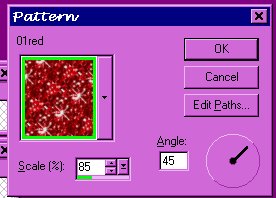 Make sure layer 03 or your top layer is highlighted then go to Selections>Load from disk and choose 01top.sel. This is the kewl thing about unlocking the layer (removing that red X over the lock) You will be able to fill without ever turning off a layer! Go to your image and click once inside the area that is selected making sure not to touch the text. You will see the top part of your text fill with the red. Do not de-select !!! :)  Go to your Layer palette and click on layer named 02. Change your pattern to 02 red. Click inside the selected area of your canvas. You will not see the fill this time...but it will have filled. Go to your layer palette and click on layer named 01. Change your pattern to 03 red. Click inside the selected area of your canvas. And the third glitter will be filled. Now, Selections>Select None. File>Save. If you want to make sure your layers filled You could go to your layer palette and turn off each layer and see each layer. In your layer palette, click on your top layer to hightlight it. Go to Selections>Load from Disk, and choose 02middle.sel. Follow the same procedure for filling like before only use the 01silver, 02silver and 03 silver. And click inside the middle selected area, making sure not to touch the text.! Now, Selections>Select None. File>Save.  In your layer palette, highlight your top layer again. Go to Selections>Load from Disk, and choose 03bottom.sel. Follow the same procedure for filling like before only use the 01blue, 02blue, and the 03blue. And click inside the bottom selected area, making sure not to touch the text.!  Now, Selections>Select None. File>Save. Go to your layer palette and right click over the layer named 'Layer1" choose Delete. File>Save. Your layer palette should look like this:  Before we do one final save, click on each layer and go to Effects>Sharpen>Sharpen for each layer. This will bring out the sparkle! and your image should look something like this:  Close out the image in PSP and open it in Animation Shop. In Animation Shop, click on View>Animation. and see how it goes! :) Like what you see? kewl beans! Close out the running preview and go to File>Save. In the Animation Quality window click the customize button and use these settings per tab. 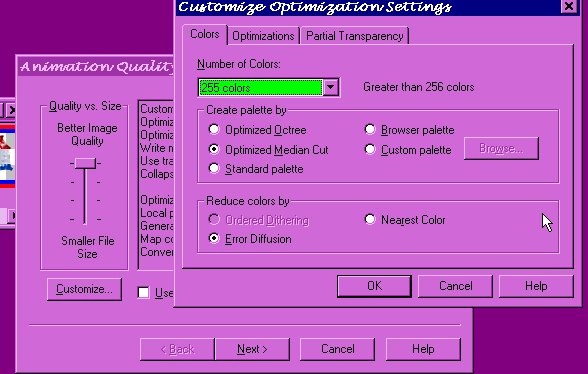
©Bemymind@aol.com
|